Have you ever walked into a room and marveled at a perfectly tiled floor or backsplash, wondering if you could pull it off yourself? DIY tile installation is one of those home improvement projects that promises big rewards—both in aesthetics and savings—but only if you get it right. Nail it, and you’ve got a space that screams pride and craftsmanship. Mess it up, and you’re stuck with uneven tiles, cracked grout, or worse, a costly redo. So, how do you make sure your tiling project doesn’t turn into a DIY disaster?
In this guide, I’m sharing 10 pro tips to avoid costly mistakes during your DIY tile installation. Whether you’re tiling a bathroom floor, a kitchen backsplash, or an entryway, these actionable insights will save you time, money, and frustration. We’ll cover everything from planning your layout to sealing the grout, with real-world examples, advanced tricks, and answers to your burning questions. Ready to tile like a pro? Let’s get started!
Introduction: Why DIY Tile Installation Is Worth Mastering
Picture this: You’ve just finished installing a stunning ceramic tile floor in your kitchen. The lines are crisp, the grout is flawless, and every tile sits perfectly level. Friends and family can’t believe you did it yourself. That’s the magic of DIY tile installation—it’s a skill that transforms spaces and boosts your confidence. But here’s the catch: it’s not as simple as slapping some tiles on adhesive and calling it a day. There’s an art to it, and mastering that art starts with knowing what not to do.
The Appeal of DIY Tiling Projects
Why do so many homeowners take on tiling themselves? For starters, it’s a chance to save big. Professional tile installation can cost anywhere from $5 to $15 per square foot, depending on your location and the complexity of the job. Do it yourself, and you’re looking at just the cost of materials—tiles, adhesive, grout, and a few tools—often slashing the bill by 50% or more. Plus, there’s the satisfaction factor. According to a 2023 Home Depot survey, 82% of DIYers say completing a project like tiling gives them a sense of accomplishment they can’t get from hiring out. Who doesn’t love that feeling?
The Hidden Costs of Getting It Wrong
But here’s the flip side: DIY tiling mistakes can hit your wallet hard. A poorly prepped subfloor might lead to cracked tiles within months. Bad cuts can waste expensive materials. And uneven grout? That’s a fast track to water damage or an eyesore you’ll regret every time you walk by. The National Kitchen and Bath Association reports that fixing botched tile jobs can cost up to 3x more than doing it right the first time. So, how do you avoid those pitfalls? By arming yourself with the right knowledge—starting with the most common mistakes.
The Problem: Common DIY Tile Installation Mistakes
Before we dive into the solutions, let’s talk about what goes wrong. If you’ve ever browsed a DIY forum or watched a tiling fail video (admit it, we’ve all been there), you know the horror stories: wavy tile lines, grout that crumbles, floors that feel like a funhouse. These aren’t just cosmetic issues—they’re functional failures that can derail your project. Here’s what you’re up against.
Uneven Tiles and Wavy Lines
Ever stepped on a tile floor that felt like a rollercoaster? Uneven tiles happen when you skip proper leveling or rush the layout. It’s not just about looks—uneven surfaces can trip you up (literally) and make furniture wobble. This mistake often stems from eyeballing the placement instead of planning it out. Spoiler: Your eyes aren’t a laser level.
Poor Grout Application
Grout isn’t just the glue holding your tiles together—it’s the unsung hero that waterproofs and finishes the job. Apply it wrong, and you’ll end up with cracks, stains, or mold. Too much water in the mix, uneven spreading, or skipping the sealant are all culprits. I’ve seen DIYers slap grout on like frosting a cake, only to watch it crumble in weeks. Let’s not do that.
Ignoring Subfloor Prep
Think of your subfloor as the foundation of a house. If it’s shaky, everything on top collapses. Skipping this step—leaving dirt, cracks, or uneven spots—sets you up for loose tiles or worse. The Tile Council of North America says 70% of tile failures trace back to subfloor issues. That’s a stat you can’t ignore.

The Solutions: 10 Pro Tips for Flawless DIY Tiling
Now that we’ve scoped out the enemy, let’s arm you with the tile installation tips you need to win the battle. These 10 pro-level strategies will guide you through every step, from planning to polishing. Grab your notepad—this is where the magic happens.
Tip 1: Plan Your Layout Like a Pro
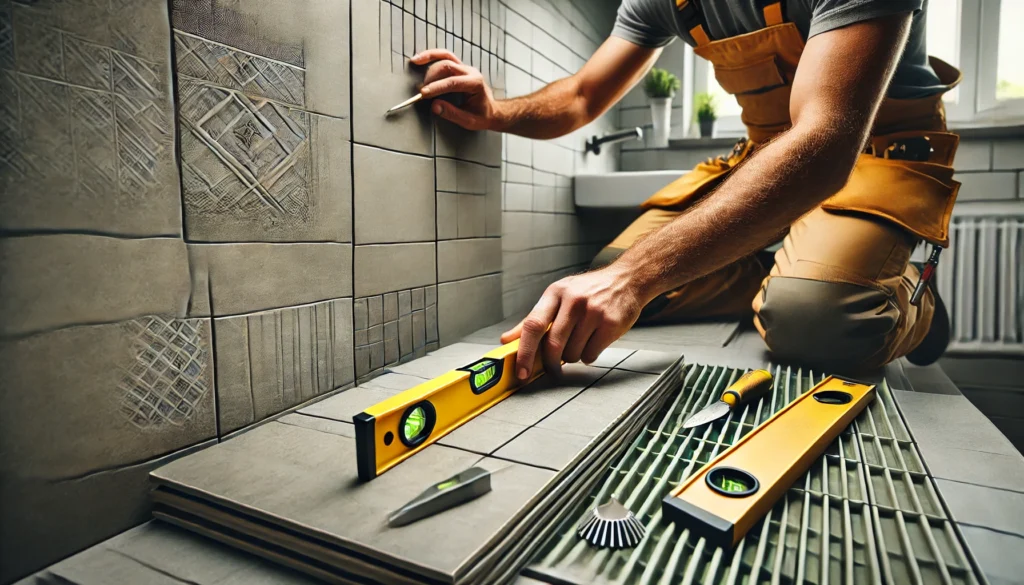
Ever started tiling only to end up with tiny slivers at the edges? That’s what happens without a layout. Before you touch adhesive, dry-fit your tiles. Start from the center of the room and work outward, using a chalk line or laser level to mark your grid. Ask yourself: Will the cuts at the walls look balanced? Pros aim for cuts no smaller than half a tile—it’s a game-changer for aesthetics. Spend 30 minutes planning, and you’ll save hours of regret.
Tip 2: Invest in the Right Tools
You wouldn’t bake a cake without a mixing bowl, right? Same goes for tiling. At minimum, you’ll need:
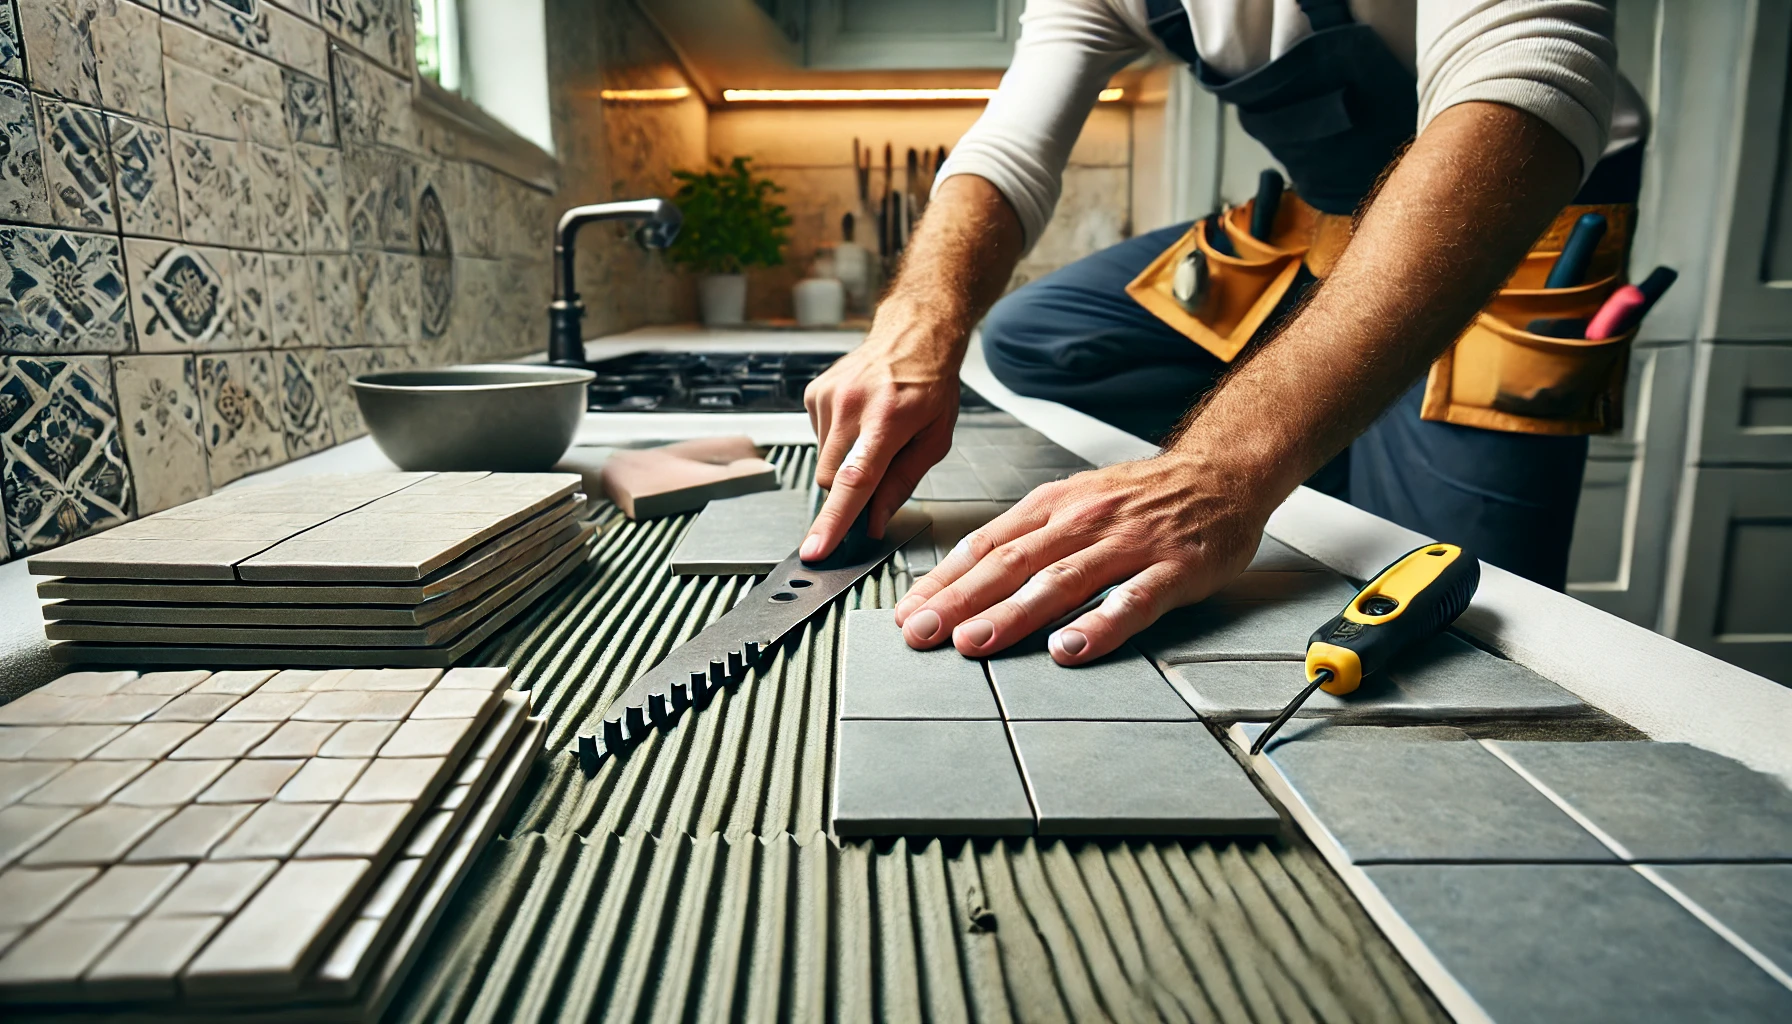
- A notched trowel (1/4-inch for most tiles)
- Tile spacers (1/8-inch or 1/4-inch, depending on your design)
- A tile cutter or wet saw
- A rubber float for grout
- A level and measuring tape
Don’t skimp here. A $50 wet saw beats a $20 manual cutter any day—trust me, I’ve snapped too many tiles to count with cheap tools. Quality tiling tools make precision effortless.
Tip 3: Prep Your Subfloor Properly
Here’s your checklist for a rock-solid subfloor:
- Clean it: Sweep and vacuum every speck of dust.
- Level it: Use self-leveling compound for dips deeper than 1/8-inch.
- Secure it: Screw down plywood or cement board to stop flexing.
For bathrooms, add a waterproof membrane—think of it like a raincoat for your floor. Skip this, and moisture will creep in like an uninvited guest. Pros swear by this step, and you should too.
Tip 4: Measure Twice, Cut Once
It’s an old saying for a reason. Double-check every measurement before you cut. Use a tile marker or pencil to trace your lines, and test-fit the piece before gluing it down. Messed-up cuts waste tiles and time—40% of DIYers report throwing out at least 5 tiles per project due to bad cuts, per a 2024 Lowe’s study. Slow down here; it pays off.
Tip 5: Mix Adhesive Like a Chef
Tile adhesive (aka thin-set) isn’t a one-size-fits-all deal. Follow the bag’s instructions—usually a 5:1 powder-to-water ratio—and mix small batches with a drill and paddle. Aim for a peanut butter consistency: thick but spreadable. Too runny, and your tiles slide. Too dry, and they won’t stick. Let it slake (rest) for 10 minutes before using—it’s like letting dough rise for better results.
Tip 6: Use Spacers for Perfect Gaps
Want those crisp, even grout lines? Tile spacers are your best friend. Pop them in as you go—1/8-inch for tight designs, 1/4-inch for bolder looks. Don’t pull them out too early; wait until the adhesive sets (about 24 hours). Uneven gaps scream “amateur,” but spacers keep you pro-level consistent.
Tip 7: Master the Art of Tile Cutting
Cutting tiles is where DIYers sweat the most. For straight cuts, a manual tile cutter works fine—score, snap, done. For curves or corners (like around a toilet), rent a wet saw. Practice on scrap tiles first; it’s like sketching before you paint. And wear goggles—flying shards are no joke. Nail this, and your edges will look showroom-ready.
Tip 8: Apply Grout With Precision
Grout time! Mix it to a toothpaste-like texture—again, small batches—and spread it with a rubber float at a 45-degree angle. Push it into the gaps, then wipe excess with a damp sponge before it hardens (20-30 minutes). Too much water in the wipe-down dilutes it, so wring that sponge tight. Precision here prevents cracks and stains down the road.
Tip 9: Seal the Deal With Sealant
unsealed grout is like leaving your car windows down in a storm—trouble’s coming. Once it’s dry (48 hours), brush on a grout sealant. It locks out water and dirt, keeping your work pristine. Reapply every 1-2 years for longevity. This step’s quick but mighty—don’t skip it.
Tip 10: Inspect and Fix Before Finishing
Before you pop the champagne, check your work. Tap tiles for hollow sounds (a sign they’re loose), eyeball lines for wonkiness, and clean up stray adhesive. Fix issues now—prying up set tiles later is a nightmare. A 10-minute inspection beats a $100 repair.
Real-World Examples: DIY Tile Success Stories
Need proof these tips work? Let’s peek at two DIYers who nailed their tile projects using strategies like these.
Case Study: A Kitchen Backsplash Transformation
Sarah, a 34-year-old teacher from Ohio, tackled her kitchen backsplash with subway tiles. She planned her layout with a laser level (Tip 1), invested in a wet saw (Tip 2), and prepped her drywall with primer (Tip 3). Her cuts were spot-on (Tip 4), and spacers gave her grout lines a pro finish (Tip 6). The result? A $200 project that looks like a $1,000 install—completed in one weekend.
Case Study: A Bathroom Floor Revamp
Mike, a 42-year-old mechanic from Texas, redid his bathroom floor with porcelain tiles. He leveled his subfloor with compound (Tip 3), mixed adhesive perfectly (Tip 5), and sealed his grout (Tip 9). His secret weapon? Practicing cuts on extras (Tip 7). His floor’s been flawless for two years, saving him $800 over hiring a pro.
Advanced Tips: Take Your DIY Tile Installation to the Next Level
Feeling confident? Let’s kick it up a notch with some pro-level hacks.
Experiment With Patterns
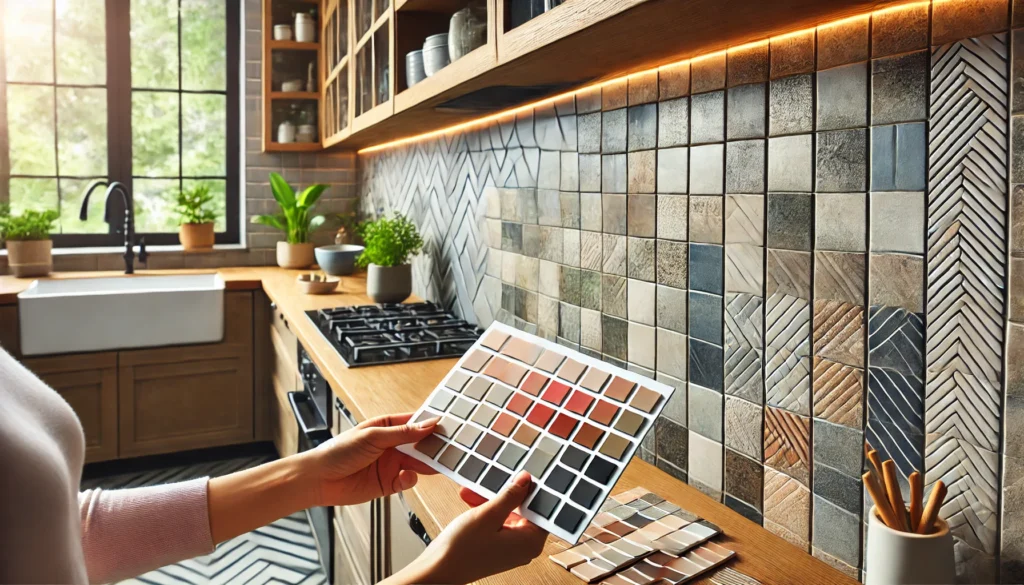
Herringbone, chevron, or basketweave—fancy patterns impress but take planning. Dry-fit your design first, and expect more cuts. It’s like solving a puzzle; patience is key. A 2024 Houzz report says 65% of homeowners love unique tile patterns—stand out with this trick.
Tackle Uneven Surfaces Like a Pro
Got a wavy wall or sloping floor? Shim tiles with extra adhesive or back-butter them (spread adhesive on the tile itself). Use a longer level to check across multiple tiles. It’s advanced, but it turns imperfections into perfection.
Optimize for Long-Term Durability
Choose porcelain over ceramic for high-traffic areas—it’s tougher and less porous. Add an anti-fracture membrane under floors to absorb movement. These upgrades cost more upfront but save headaches later—think of it as insurance for your work.
Conclusion: Tile Your Way to Success With Confidence
DIY tile installation doesn’t have to be a gamble. With these 10 pro tips to avoid costly mistakes, you’ve got the roadmap to a stunning, durable result. Plan smart, prep right, and execute with precision—your space deserves it. Ready to transform your home and impress everyone who walks in? Grab your tools, pick your tiles, and start tiling like a pro today. You’ve got this!
FAQs: Your DIY Tile Installation Questions Answered
1. How long does DIY tile installation take for a beginner?
For a small space (like a 50-square-foot bathroom), expect 2-3 days—1 for prep and layout, 1 for tiling, and 1 for grouting and sealing. Practice speeds you up!
2. What’s the easiest tile for DIYers to install?
Large ceramic or porcelain tiles (12×12 or bigger) are forgiving for beginners—fewer cuts and simpler alignment than tiny mosaics.
3. Can I tile over existing tiles?
Yes, if they’re secure and level. Rough them up with sandpaper and use a high-bond adhesive. Check with a level first—stacking uneven tiles is a recipe for disaster.
4. How do I avoid lippage (uneven tile edges)?
Use a leveling system (clips and wedges) with spacers. It’s an extra $20 but keeps tiles flush like magic.5. What’s the biggest mistake DIYers make with grout?
Overwatering the mix—it weakens the bond. Stick to the ratio on the bag, and you’re golden.


