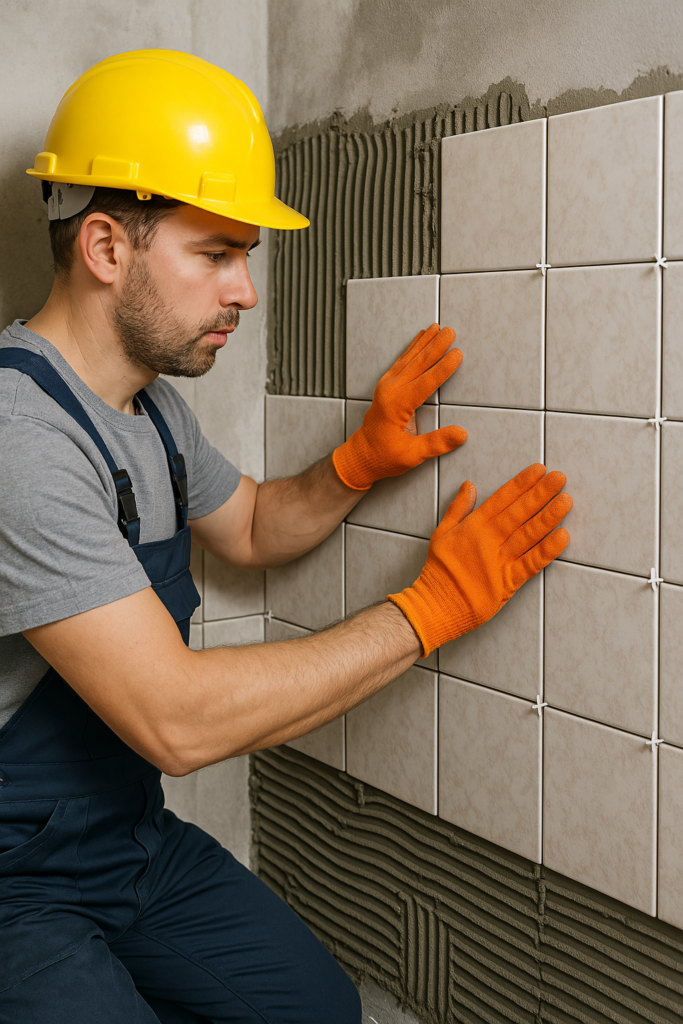
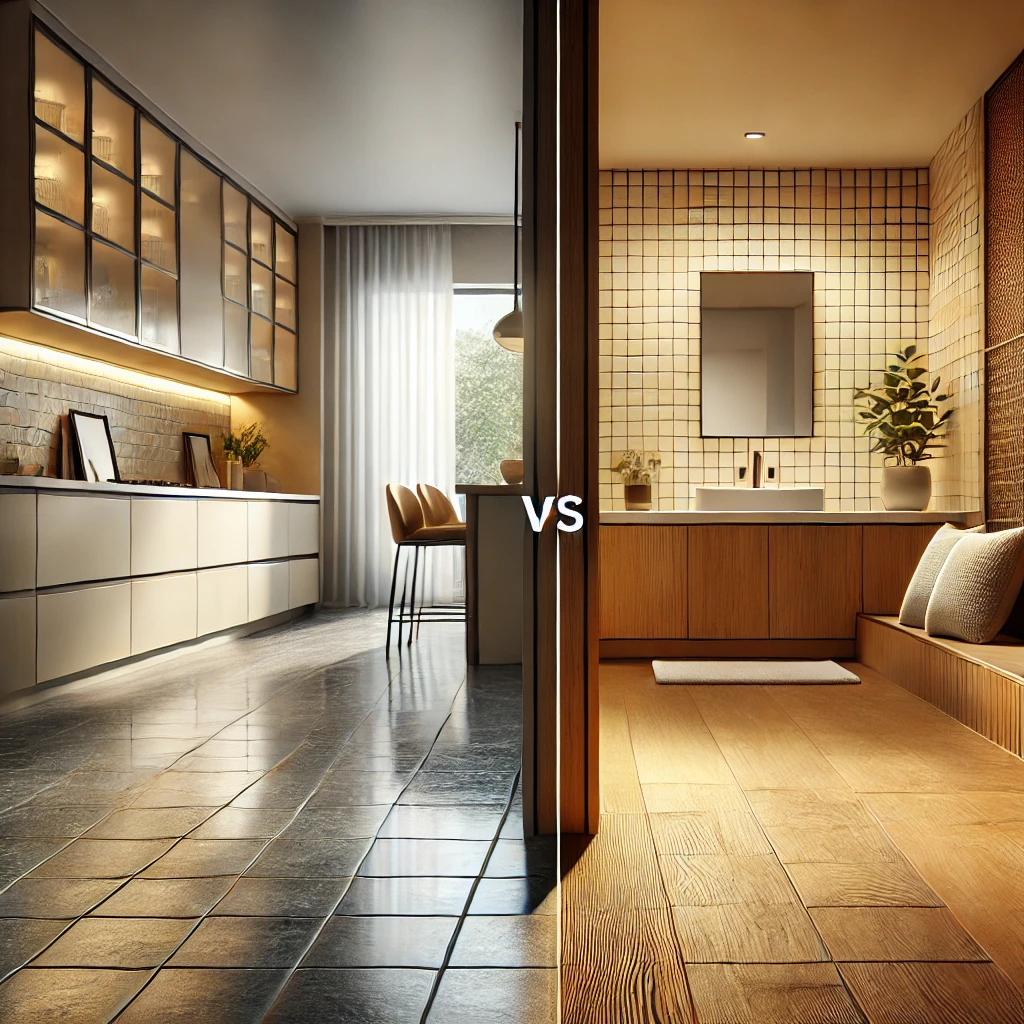
Have you ever walked into a room and felt instantly wowed by a gorgeous ceramic tile wall? Maybe it was a sleek kitchen backsplash or a spa-like bathroom feature. Now, picture this: You could create that same jaw-dropping effect in your own home. Sounds exciting, right? But then the doubts creep in—“Isn’t tiling walls super hard? What if I mess it up?”
Here’s the secret: It doesn’t have to be complicated. With the right approach, install ceramic tile on walls can be a fun, rewarding DIY project—even if you’ve never touched a trowel before. In this guide, I’m sharing 6 simple hacks that will make the process smooth, stress-free, and dare I say, enjoyable. These aren’t just random tips—they’re game-changers that tackle the trickiest parts of wall tiling head-on.
Whether you’re dreaming of a cozy kitchen upgrade or a full bathroom transformation, you’re in the right place. Let’s roll up our sleeves and turn your walls into something spectacular!
Introduction
Imagine stepping into your kitchen and seeing a ceramic tile backsplash that catches the light just right, making the whole room feel fresh and inviting. Or walking into your bathroom and being greeted by a tiled accent wall that turns a basic space into a mini retreat. Pretty amazing, huh? Now, what if I told you that you could make that happen—no fancy contractor required?
That’s right—installing ceramic tile on walls is totally within your reach. And I’m not talking about some bare-bones, “good enough” result. With 6 simple hacks, you can achieve a professional-quality finish that’ll have your friends asking, “Who did this for you?” Spoiler: It’s all you.
In this article, we’re breaking down everything you need to know. We’ll tackle the common struggles, walk you through each hack with easy steps, share some inspiring real-life examples, and even throw in advanced tips for when you’re ready to level up. Plus, I’ll keep it real and conversational—like we’re chatting over coffee about your next big project.
So, grab your favorite drink, and let’s dive into the world of wall tiling. Your dream space is closer than you think!
Why Does Installing Ceramic Tile on Walls Feel So Overwhelming?
Let’s get honest for a second. The idea of tiling a wall can feel like standing at the base of a mountain, staring up at the peak and wondering, “How do I even start?” You’ve probably heard tales of tiles sliding down walls, grout turning into a cracked mess, or layouts looking like a toddler’s art project. It’s enough to make anyone hesitate.
So, what’s the deal? Why does wall tiling freak so many of us out? It usually boils down to a handful of hiccups:
- Uneven surfaces: Walls aren’t always flat, and that can throw off your whole tile job.
- Adhesive woes: Pick the wrong stuff, and your tiles might not stick—or worse, they’ll peel off later.
- Crooked lines: Without a solid starting point, your tiles can end up looking like they’re doing the wave.
- Cutting chaos: Trimming tiles to fit around corners or outlets can feel like a high-stakes puzzle.
- Grout grief: Messy application or poor sealing can ruin an otherwise perfect project.
Sound familiar? These are the pain points that turn a fun DIY idea into a stress fest. But here’s the good news: They’re all fixable. In fact, the 6 hacks I’m about to share will help you sidestep these issues entirely. Think of them as your trusty trail map—guiding you up that mountain with confidence.
Ready to leave the overwhelm behind? Let’s jump into the solutions!

6 Simple Hacks to Master Wall Tiling
This is where the fun begins. These 6 hacks are like cheat codes for installing ceramic tile on walls. They’re practical, beginner-friendly, and designed to make your project a win. Let’s break them down one by one.
Hack 1: Prep Your Wall for Success
Before you even touch a tile, your wall needs some love. Think of it like prepping a cake pan—you wouldn’t pour batter into a dirty, ungreased mess, right? A solid prep job sets the stage for everything else. Here’s how to nail it:
- Clean it up: Wipe down the wall with a damp cloth to remove dust, dirt, or grease. For stubborn spots, a mild detergent works wonders.
- Check the flatness: Run a level or straightedge across the wall. If you spot dips or bumps, smooth them out with a thin layer of joint compound.
- Prime time: For drywall or plaster, slap on a coat of primer. It helps the adhesive grip like a champ.
Checklist:
- Degreaser or soap
- Level or straightedge
- Joint compound (if needed)
- Primer
Why it works: A clean, flat, primed wall gives your tiles a rock-solid foundation. Skip this, and you’re begging for trouble later.
Hack 2: Pick the Perfect Adhesive
Adhesive is the glue (literally) that holds your project together. Get this wrong, and your tiles might end up on the floor instead of the wall. Here’s the scoop:
- Wet zones (bathrooms, kitchens): Go for a waterproof thin-set mortar. It’s tough, moisture-resistant, and perfect for ceramic tiles.
- Dry spots (living rooms): A premixed tile adhesive will do just fine.
How to apply it:
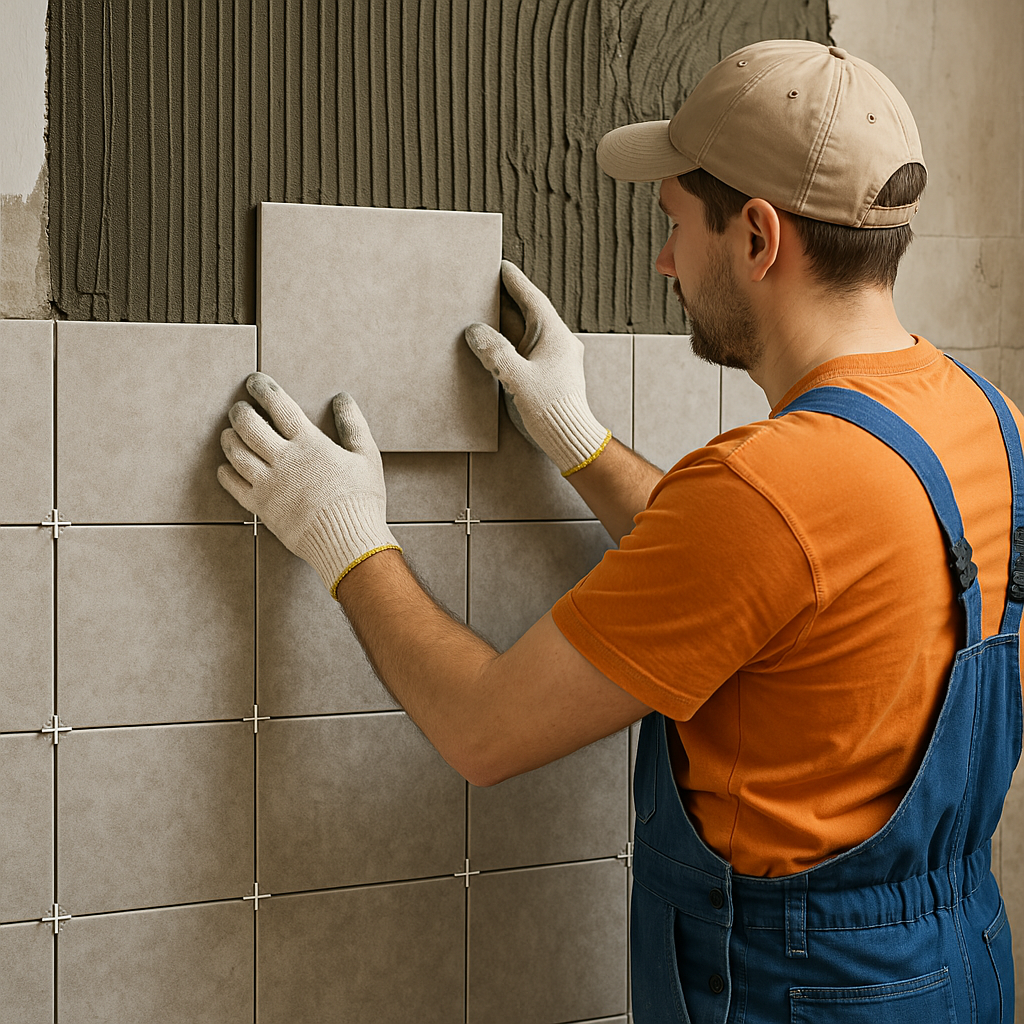
- Grab a notched trowel (1/4-inch notches are standard).
- Spread the adhesive in small sections—about 2-3 square feet at a time.
- Drag the trowel at a 45-degree angle to create even ridges.
Why it works: The right adhesive ensures your tiles stay put, no matter what. Plus, those ridges? They’re like tiny suction cups for maximum hold.
Hack 3: Space Tiles Like a Pro
Ever seen a tile job where the gaps are all over the place? It’s like a bad haircut—impossible to unsee. Tile spacers are your secret weapon for clean, even lines. Here’s the deal:
- Pick your size: For most wall tiles, 1/8-inch spacers are spot-on. Smaller tiles? Try 1/16-inch.
- Place them right: Pop a spacer at each tile corner as you go.
Quick Tip: Don’t pull them out too soon—let the adhesive set (usually 24 hours) before removing them.
Why it works: Spacers keep everything uniform, so your grout lines look crisp and intentional. It’s the difference between “meh” and “wow.”
Hack 4: Start with a Foolproof Level Line
Here’s a golden rule: Never start tiling from the floor or ceiling. Why? They’re almost never perfectly level. Instead, create a starting line that’s dead-on straight. Here’s how:
- Find the middle: Measure your wall’s width and mark the center.
- Draw the line: Use a spirit level to sketch a horizontal line across the wall at a height where your first row of tiles will sit.
- Support it: Nail a temporary ledger board (a straight piece of wood) along the line to hold your tiles in place as they set.
Why it works: A level line keeps your tiles aligned, even if the room’s foundation is a little wonky. It’s like laying the first brick of a house—get it right, and the rest falls into place.
Hack 5: Cut Tiles Without the Drama
Cutting tiles can feel like defusing a bomb—one wrong move, and it’s game over. But with the right tools, it’s a piece of cake. Here’s your plan:
- Straight cuts: Use a manual tile cutter. Mark your line, score it, and snap it cleanly.
- Curves or edges: Grab a wet saw. It’s louder but cuts like butter.
- Tiny tweaks: Tile nippers are great for nibbling away small bits.
Safety First: Wear goggles and gloves—tile shards are no joke.
Why it works: Precise cuts mean your tiles fit perfectly around outlets, corners, or fixtures. No gaps, no stress.
Hack 6: Grout Like It’s Second Nature
Grout is the icing on your tiling cake—it fills the gaps and seals the deal. Mess it up, though, and it’s a sticky nightmare. Here’s how to ace it:
- Pick your grout: Sanded grout for joints over 1/8 inch; unsanded for tighter spaces.
- Mix it up: Follow the package directions—aim for a peanut butter consistency.
- Apply it: Use a rubber grout float to press it into the joints at a diagonal angle.
- Clean it off: Wipe excess grout with a damp sponge before it hardens (about 15-20 minutes).
Why it works: Good grouting locks everything in place and gives your wall that polished, pro finish.
Real-Life Examples of Wall Tiling Wins
Need proof these hacks work? Let’s peek at two DIYers who turned their walls into showstoppers using these tricks.
Case Study 1: A Kitchen Backsplash Glow-Up
Meet Jen, a busy mom who wanted a modern kitchen backsplash without breaking the bank. She used Hack 1 (Prep Your Wall) to smooth out her uneven drywall and Hack 4 (Level Line) to keep her tiles straight. “I was terrified they’d look crooked,” she admits, “but that level line saved me.” In one weekend, she installed a glossy white subway tile backsplash that’s now the star of her kitchen. Total cost? Under $200.
Case Study 2: A Bathroom Tile Triumph
Then there’s Tom, who tackled a full bathroom reno. He leaned on Hack 3 (Tile Spacers) for perfect gaps and Hack 5 (Cutting Tiles) to fit tiles around his shower valve. “I practiced cutting on some scraps first,” he says. “By the end, I felt like a pro.” The result? A sleek gray ceramic tile wall that looks straight out of a design catalog.
Takeaway: These hacks aren’t just theory—they deliver real results, even for beginners.
Advanced Tips to Elevate Your Tile Game
Feeling confident? Let’s kick it up a notch with some advanced tricks to make your wall tiling project stand out.
Tip 1: Play with Patterns
Ditch the basic grid and try something bold—like a herringbone or chevron layout. It takes a bit more planning (and cutting), but the payoff is a wall that screams style.
Tip 2: Mix and Match Sizes
Combine large tiles with smaller mosaics for texture and depth. Picture a big tile base with a mosaic accent strip—simple yet stunning.
Tip 3: Tackle Tricky Spots
Corners, outlets, and fixtures got you stumped? Measure twice, cut slow, and use a tile file to smooth rough edges. Patience here turns tricky into terrific.
Stat Alert: Did you know 82% of homeowners say tiled walls boost their home’s value? (Source: National Association of Realtors, 2022.) Your effort could pay off big!
Conclusion: Your Wall Tiling Adventure Starts Now
There you go—6 simple hacks to transform your walls with ceramic tile. From prepping like a pro to grouting with flair, these tips take the guesswork out of tile installation. It’s like building a Lego set: Follow the steps, snap the pieces together, and watch something awesome take shape.
So, what’s holding you back? Your dream wall is waiting. Pick your tiles, gather your tools, and dive in. You’ve got this—and I can’t wait for you to see the results. Share your project pics with us when you’re done—I’d love to cheer you on!
FAQs: Quick Answers to Your Top Questions
Got lingering doubts? Here are five fresh FAQs to put your mind at ease:
1. Can I install ceramic tile over painted walls?
Yep, as long as the paint isn’t peeling. Sand it lightly to rough it up, then prime it for better adhesion.
2. How much tile do I need for my wall?
Measure your wall’s square footage (height x width) and add 10% for cuts and breakage. Easy peasy.
3. What if my tiles start slipping while the adhesive dries?
Use that ledger board from Hack 4 to support them. If they still slide, your adhesive might be too wet—mix it thicker next time.
4. How soon can I grout after laying tiles?
Wait 24-48 hours for the adhesive to set. Check the adhesive label to be sure.
5. Do I need fancy tools to install ceramic tile on walls?
Not really! A trowel, level, tile cutter, and spacers will get you far. A wet saw is optional but handy for big jobs.


